
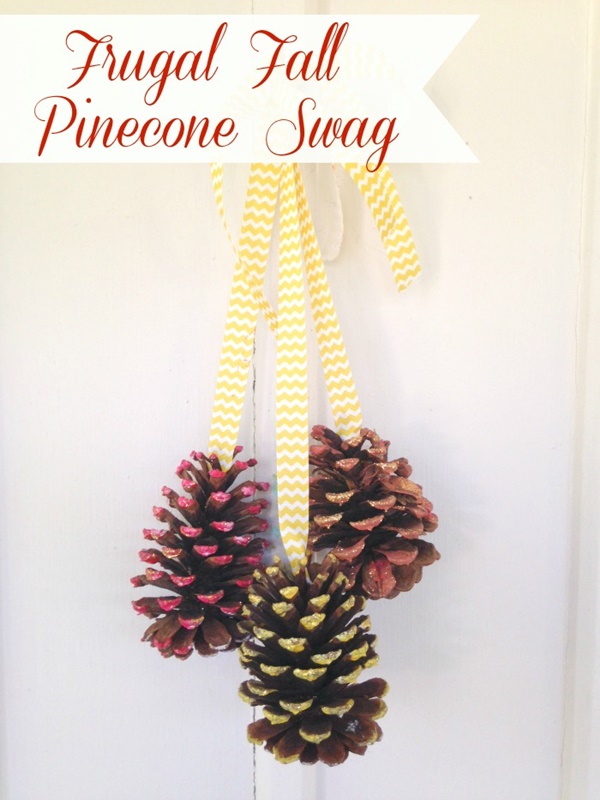
Fall is here in full swing, which means it is time to do some fall crafting. You can make this beautiful (easy) and frugal fall pine cone swag using items that Mother Nature gives us this time of year. Take a look below at how with just a few pine cones, we created a fall swag perfect for displaying on your front door or mantel. It is so easy, that even the kids can help. Take a look!
Here is what you will need:
- Assorted pine cones (If you don’t have any in your yard or area, craft stores do carry them)
- Assorted craft paints
- Paint brush
- Ribbon
- Glitter
- Hot glue, glue gun
For our paint choices, we used fall colors such as red, orange, and yellow.
Directions:
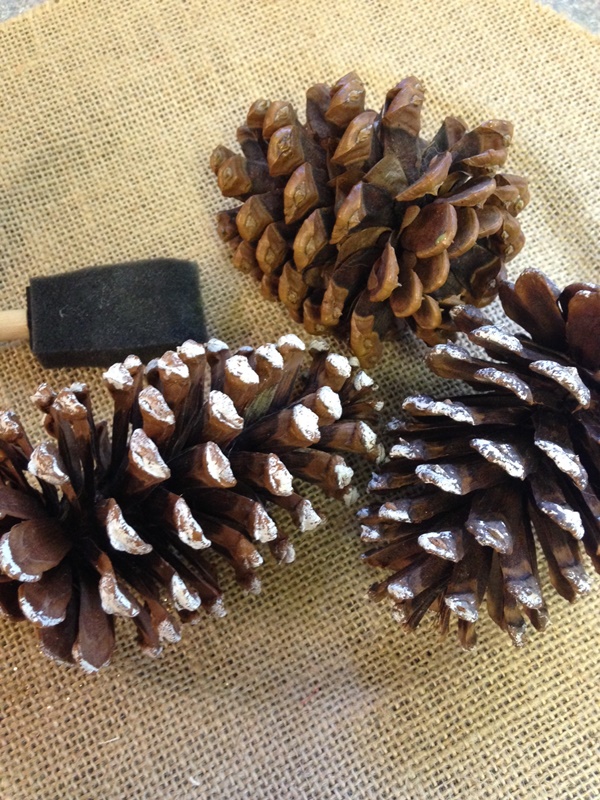
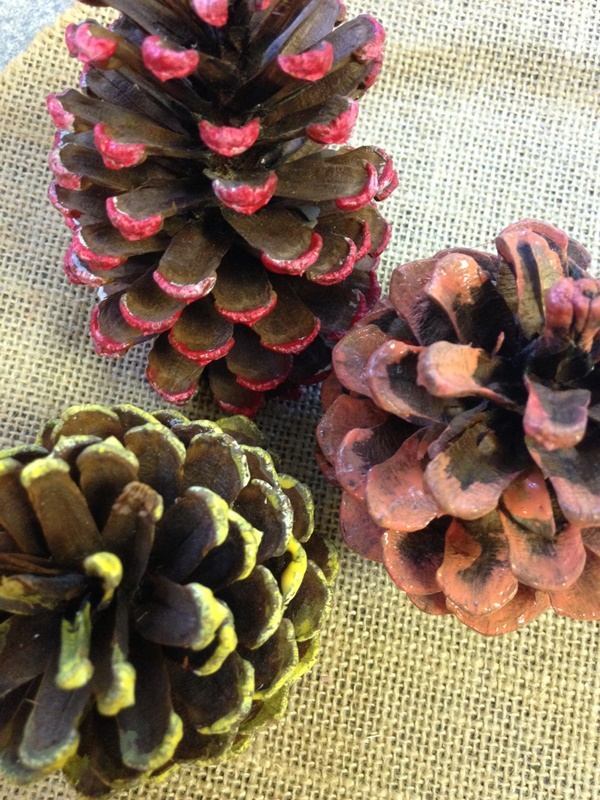
1. Begin by dabbing paint in various colors onto each pine cone. Just use your brush to apply the paint to the tips. Use one color per pine cone, or create a dabble effect with various colors.
2. While the paint is still wet on each pine cone, sprinkle them liberally with glitter. Doing this while the paint is still wet will assure the glitter sticks nicely.
3. You can now apply your pine cones to the ribbon. Cut lengths of ribbon and apply some hot glue to the ends. Press the top of each pine cone to the ribbon until secure.
4. Once you have several strands of pine cones and ribbon, you can tie the tops into a knot. Finish by attaching another length of ribbon which you then tie into a bow.
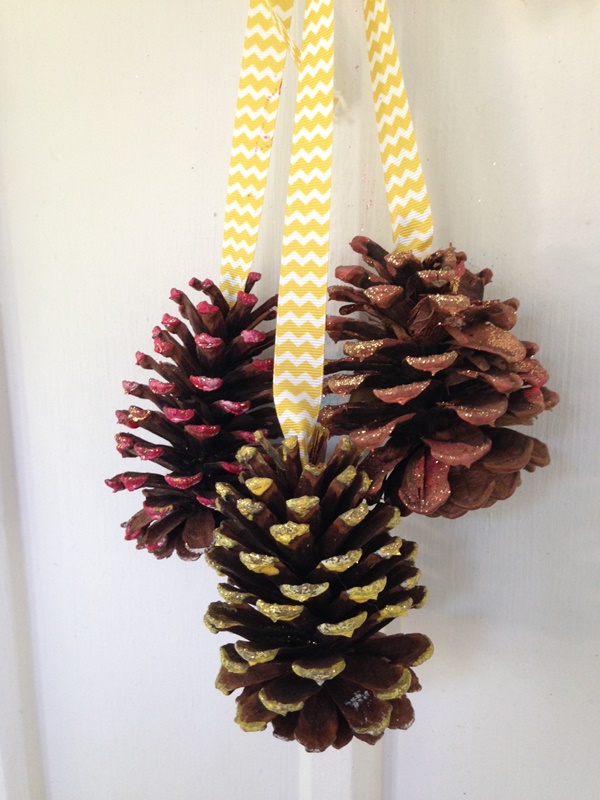
To hang your pine cone swag, just hand the knotted area on a nail or hook. It is lightweight, and should be able to hang anywhere.
This frugal fall pine cone swag is the perfect way to add some fall fun to your space. Gather your pine cones and other materials and give it a try!