Herbal Tea Cinnamon Cranberry Gelatin Jiggler Hearts- Healthy Valentine’s Day Treat!
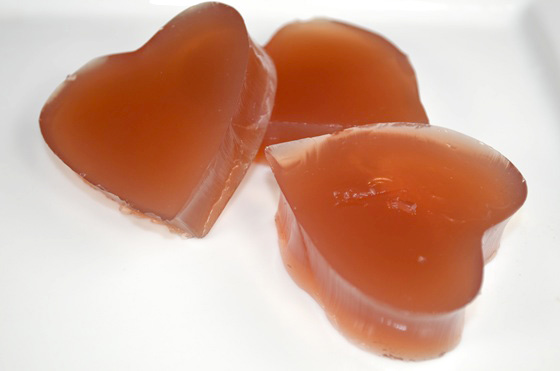
Kids and grown ups both like gelatin jigglers. They’re definitely a favorite at our house! I like to make them from scratch, with juice instead of the pre-packaged gelatin flavors. I use a little juice and fruit flavored herbal teas to flavor my gelatin jigglers without adding too many calories. Here’s my favorite recipe for … Read more